Underwater Photography Tips
Photography is one of the most rewarding hobbies out there. You point your camera at a beautiful landscape, take the snap, and then see the fruits of your labor immediately. That’s when it goes right, at least. It can also be extremely frustrating. The more into photography you get, the more you realize that you don’t know anything at all. You might have a natural talent for picking out a good shot, but there’s actually a huge technical side to photography you didn’t know about.
That’s also true with underwater photography. As a hobby, it’s becoming more and more accessible and affordable, but there is still a lot to learn. If you have already mastered photography above land, then you should find it easy to pick up. If you are new to photography completely, expect a lot of trial and error! In this guide, we’ve compiled a list of 10 underwater photography tips to make sure you nail those underwater shots.
Safety First
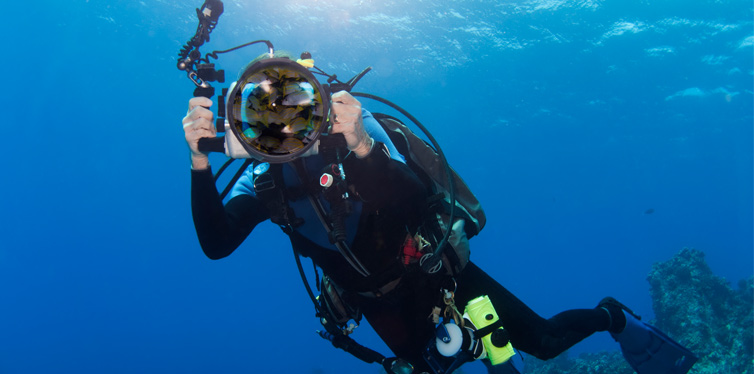
The first and most important, tip in any underwater photography guide is to be safe. It doesn’t matter how good your photos are if you aren’t around to see them. Water is dangerous, especially if you are out at sea, so there are a few important things to remember.
- Understand your equipment – Don’t just buy all the gear and set off to sea. If you are trying scuba photography, you need to make sure you can dive without a camera first. Always test your gear without a camera before and make sure you know how to work it.
- Get some lessons and pass your PADI courses – These courses are designed to prepare you for safe scuba diving without an instructor. PADI has a whole range of courses available, including a Digital Underwater Photography course.
- Get to know the locals – If you are diving abroad, it is always worth looking for a local guide. They will know the area better than any guidebook and will tell you where to avoid. They might even have some tips to find a great place to shoot.
- Don’t go it alone – This is especially important if you haven’t dived before. You should always have a buddy with you. If possible, dive with someone more experienced than you so that you can learn from them.
- Practice using your gear above ground – That way you will know your underwater photography equipment inside out and you won’t be scrambling around looking for a certain button when you should be concentrating.
- Master your buoyancy – If you have practiced taking underwater photos without diving equipment, you may have held your breath or released the air out of your lungs in order to stay buoyant. This is extremely dangerous when using scuba gear. It can cause pulmonary barotrauma and other serious complications. You should learn to master your buoyancy without using your breathing or it could be fatal.
- Know your subjects – Before you set out on a dive, you should know what types of animal you might encounter. You can expect all animals to react the same, so you need to respect and understand them. You will want to get close to your subject to get the best shot but be careful what you are getting close to!
Buy the Right Gear
Starting out as an underwater photographer can be expensive. You need to buy the right equipment, or you will end up with a whole bunch of messy, grainy images that you can’t make out. Fortunately, there are ways to make it affordable. If you don’t already have a camera, that will be the main expense.
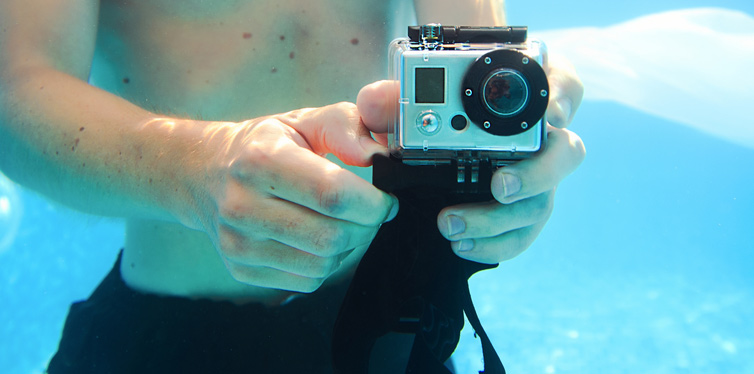
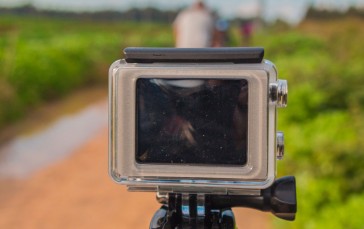
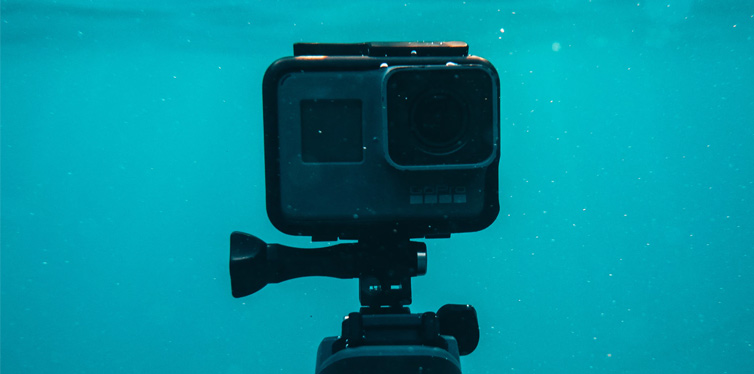
Camera – This really depends on how much you want to spend. If your budget is on the smaller scale you should look at SeaLife cameras – these all-in-one underwater cameras will allow you to get great pictures without breaking the bank. You could also consider a GoPro for your underwater photography – the settings are really limited, but you can still get some great shots with these little cameras.
If you are looking to spend more money, the Backscatter Canon 5D Mark IV is a great option. This is a professional standard camera that comes with some awesome underwater housings, perfect for all your diving photography needs.
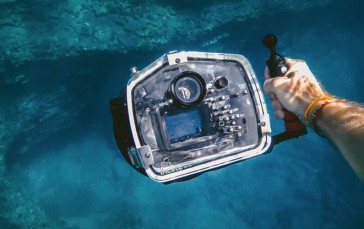
Housing – If you’ve already got a great camera, you just need to buy an underwater housing kit. Again, you can spend anything from $20 – $5000, so you need to know your price range. On the cheaper end of the scale, we recommend avoiding anything too cheap – after all, you don’t want to risk putting your nice camera in something cheap and badly made. Investing a bit more in something like the EWA-MARINE U-AZ Housing will keep your camera safe and allow you to get some great shots.
Scuba Gear – If you haven’t dived before, you might just want to look at renting scuba gear for the first week. Diving equipment is quite expensive, and you should make sure you like it before you invest lots of money. You can buy your fins, mask, snorkel, and wetsuit – these are affordable, and you probably wouldn’t want to rent them anyway (anyone could have used them!).
Accessories – There are loads of accessories for underwater photography. You don’t need them all when you’re starting out. One thing we would recommend is an underwater flash. This will make a huge difference to your waterproof camera shots. Water absorbs light. It quickly gets dark the deeper you get, so you’ll need a light source to get great shots. Some companies make external underwater strobes for specific cameras, but there are also get one-size-fits-all options.
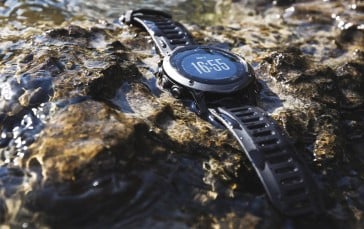
Another great accessory is a dive watch. Buying a waterproof watch will allow you to keep track of your dive plan and make sure you have plenty of air left. Remember the rule of thirds for your oxygen when diving – one third for the journey there, one third for the journey back, and one third as an emergency reserve.
Understand Your Environment
We already talked about this a bit in the first point. The sea can be really dangerous if you don’t know what you’re doing. It’s important to know the area you are diving or snorkeling in before you set out. Ask local guides about currents and tides and also ask if they have any safety tips for the area. Make sure you plan your dive carefully and stick to the plan. Take into consideration wind conditions, daylight times, tidal patterns, sea conditions, and local wildlife. Also, make sure you are partnered with an experienced diver and have an exit plan if something goes wrong. Preparation and safety are really important parts of underwater photography.
Aside from the safety aspect, the environment could affect your photography. Remember that natural light is important to photography, so you want to get as much as possible. It is best to shoot underwater in the morning and early afternoon. Of course, for more experienced photographers, you might want to shoot in the dark.
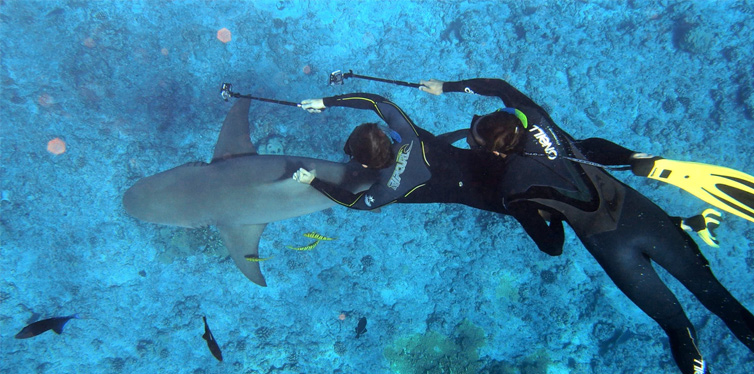
Most sea creatures are great models for your underwater photographs. They will quite often swim close to you out of curiosity, which makes it super easy to get a great shot. Like with all animals though, you should be cautious. Some sea life can be extremely dangerous and shouldn’t be approached. Again, this is something you can talk to locals about or even find out on the internet.
The environment is everything in photography. Learn about it before you set out and you could capture something special.
Learn How to Use Your Camera
You should know how to use your camera above ground before you learn how to take underwater photographs. Here are some of the most important underwater photography settings –
Shoot Manual – You can get away with using the automatic setting above ground, but underwater it isn’t going to cut it. Learning to use your camera in manual mode is the most important thing you can do to improve your underwater photography. It basically means learning about the relationship between shutter speed, aperture, and ISO. This will allow you to control your camera properly and get great shots in any environment.
Here’s a brief description:
Shutter speed controls how long your camera’s shutter is open, which controls how much light is exposed to the camera sensor. A slow shutter speed causes motion to blur and a fast shutter speed makes even fast-moving objects appear still.
Aperture is the size of the hole in the lens, which determines how much light gets in. This can be used to create images with varying depth of field. Basically, you can control what is in focus and what isn’t. So, if you were taking a close-up image of a fish and wanted everything else out of focus, you would change the aperture.
ISO is the sensitivity of your camera’s sensor to light. This is really important in underwater photography because you will have less light to work with. You can use this setting to make the best use of the limited light.
These descriptions are very basic, so make sure you go out and practice using these settings to see what effects you can create.
Manual Flash – We already talked about how important flash will be to your underwater photography. Taking great images is all about using light. Buying an underwater flash system will give you a lot of control in your images, especially as your skill level continues to increase.
Histogram – Shooting underwater can be pretty stressful. You want to make sure your settings are right without having to take photos and then look at them to see if you need to adjust. That’s where the histogram comes in. It’s a bar graph display that shows you the exposure of an image, so you know it’s going to come out looking great.
Focus – All cameras have different focusing settings. If you are prepared to spend a lot of money, you will have a whole host of amazing settings that you can use in underwater photography. High-end Nikon and Canon cameras have tracking focus that can be used on moving objects, perfect for taking shots of fish on the move.
Single spot focus – This lets you narrow down the point of your focus and create images with really strong focal points.
Get Close to Your Subject
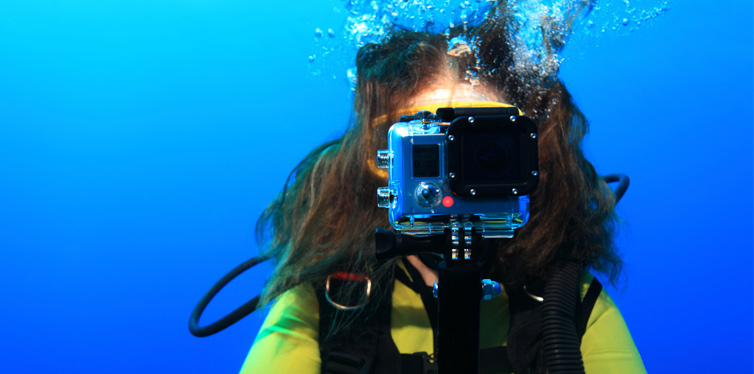
When people first try underwater photography, you often hear them complaining about all the dull blue and grey images they have. They end up with grainy, out-of-focus shots that go straight in the rubbish. It’s a shame, but it’s because of one fatal mistake – they are taking shots too far away from their subjects.
In underwater photography, it’s imperative to get close. Water absorbs color and sucks out light, which can make it a pretty hostile environment for photography. So, you need to reduce the amount of water between you and your subject.
When you’re shooting fish or other animals, you might want to wait for them to come to you, instead of approaching them. It’s important to respect your subject at all times. Try to blend into their environment without disturbing them.
Embrace Wide Angle Lenses
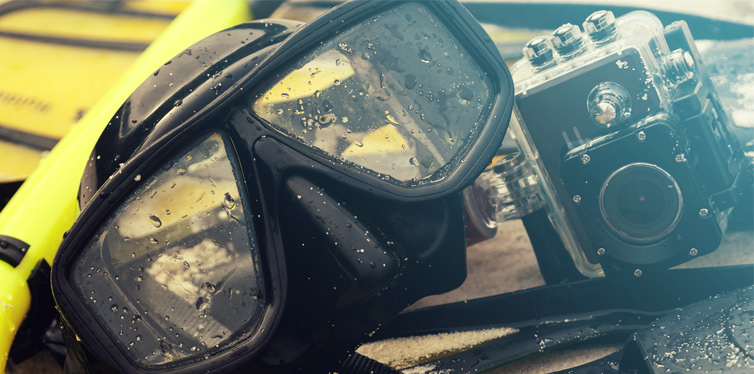
We talked earlier about getting as close to your subject as possible. That’s because you want to reduce the amount of water between you and your subject. But what if you want to get wide angle shots? Normally, you would just move back until you had enough space to get all of your subjects into your image. That’s not going to work underwater. So, your best option is to use wide angle lenses.
Wide angle lenses allow you to capture huge, sweeping images that give a real sense of the size of the ocean. It’s a great way of giving your images life and takes away the restriction of having to be close. You will want to try a slow shutter speed to pick up the natural light and give the ocean a brighter blue feel.
Shoot Upwards
If you are still struggling with dull blue/grey images, it might be because you are shooting towards to ocean floor. For the best results, get underneath your subject and shoot upwards. This will allow the maximum amount of light to get into your camera’s sensors and give you the brightest photos.
Learn to Sink
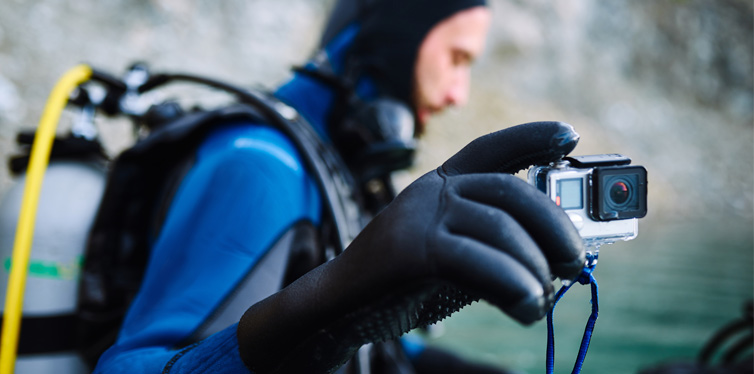
You need to learn to sink if you are going to be a great underwater photographer. This allows you to be steady and capture your shot without rising to the surface or madly flapping your fins. When you’re free-diving, this is easy – all you have to do let the air out of your lungs and you will start to sink. When you are scuba diving it’s not so easy – as part of your scuba kit, you will have a BCD (buoyancy compensator). You will need to deflate your BCD once you are in the water, then add small bursts of air to the BCD as you descend. You should be able to achieve neutral buoyancy and stay completely still. Mastering this is key to great underwater photography.
Learn to Shoot Fast
Shooting underwater is an ever-changing environment. The weather can change and cause the conditions to become dangerous within seconds, fish can suddenly move out of your shot quickly, and other animals can disturb your shoot without you even knowing they’re there. That’s why you need to be quick off the mark. You need to be ready to capture the perfect image at any time. To do this you are going to have to master your camera’s settings and your diving equipment. It’s not something that is going to happen overnight, but if you work on it you could become a great underwater photographer.
Embrace Post Processing
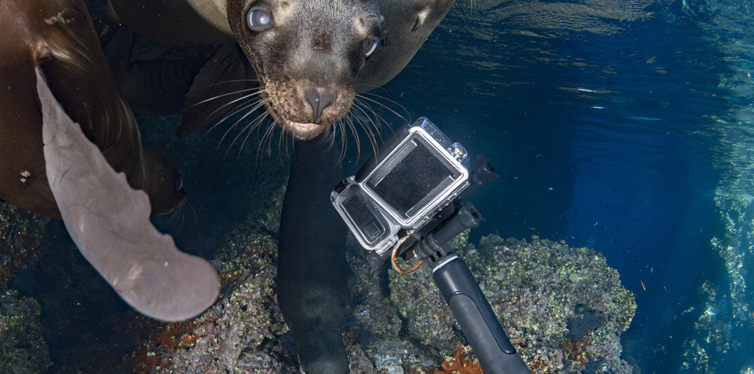
Most – if not all – photographers edit their photos after a shoot. Post-processing can’t make a bad photo good, but it can make a good photo great. This is true for the underwater photographer. You’ll notice quickly with your underwater shots that there is a lot of debris in the ocean. We’re not just talking about plastic, but all sorts of natural debris as well. While this is part of the shot, you can sometimes enhance the photograph by taking it out.
Another great part of post-processing is working with the colors. You may not have a lot of light to play with underwater, but you can make the most of it using post-processing software. You can brighten up the color and resolve any blue focus issues which should leave you with some pretty awesome underwater photographs.
Photoshop is the daddy of post-processing software. It is used by professional photographers everywhere and has so many features you can get lost in it for hours. There are hundreds of Photoshop courses on the internet. Learning how to use it effectively will improve your underwater photographer in a big way.
Sources:
- The Best Underwater Cameras and Housings of 2017 – Sport Diver
- Memories from Another World – Sea Life
- Top 5 Settings That Will Improve Your Underwater Photography – Underwater Photography Guide


