Tips For Setting Up Your Trail Camera Correctly
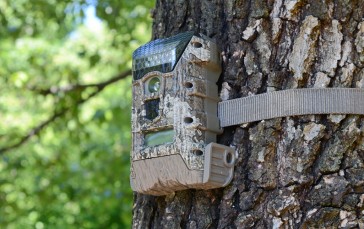
Trail cameras are a popular piece of technology, but they can sometimes come with a learning curve in terms of retrieving great quality images. Setting up your camera is relatively straightforward, but from card errors to blacked out photos, there are numerous things that can occur to cause issues with your photos. The following list outlines some of the common problems you might encounter and how to fix them for the best results.
Batteries
Batteries are key to a trail camera’s performance, so if you have any issues with the device, they should be the first thing you check. If you don’t have the equipment to test the batteries, replace them but ensure that all the batteries in the device are the same brand and type. Pay special attention to installing the batteries to make sure that they’re fitted correctly, and don’t assume that each row will follow a sequence.
There are three types of batteries used in trail cameras – alkaline, lithium and rechargeable. Some brands of camera will allow you to select the type of batteries you’ll use in the setup area and this must be done if the option exists. You may be tempted to use rechargeable batteries but this a bad idea, as the voltage is always lower than regular alkaline or lithium batteries. Because rechargeable batteries have a lower voltage, the camera is likely to switch itself off because it will think the batteries are dead, even if they still have a charge.
Positioning the Camera Due East/West
For obvious reasons, positioning your camera in direct sunlight won’t produce the best results, but this can be easily forgotten. You don’t want to place the camera pointed towards the rising or setting sun, as you’ll wind up with at least one time period where the camera will produce poor quality photos. Try to position the camera North/South if you can for better images.
Black Night Photos
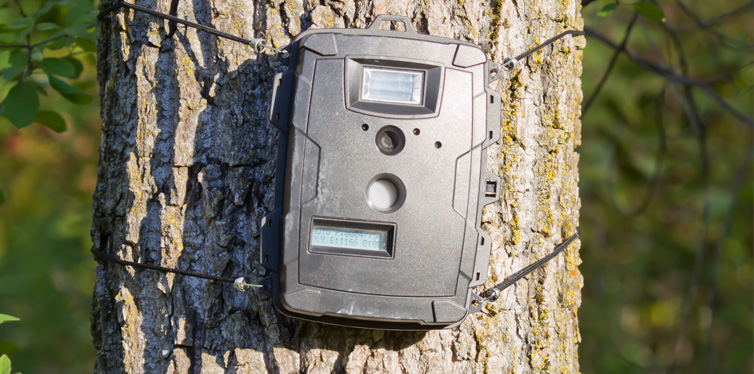
Trail cameras are triggered by motion within the detection area, so check that your camera isn’t placed too high or too low – around 36 inches off the ground should give you the best results. If you’re using a trail camera for security purposes, you may want to place it higher and aim downwards, although there may be an element of trial and error involved. You can even try walking in the detection area at night for a few minutes to check it’s being triggered, or bring it home and test it in a completely dark room if that’s more convenient.
SD Card Error Messages
Firstly, try formatting the SD card in your computer which will reset the camera. Much of the time, SD cards lock up which causes problems within your camera – formatting the card erases all the data. To format the card, place it in your computer, go to ‘My Computer’, right click on the folder the SD card sits under, select ‘Format’ and click ‘Start’.
That said, if you try to alter your files on an SD card outside of the camera, you could run into some problems. Many people use their digital cameras to view the contents of their SD card which works just fine, but if you erase images using the camera it can rewrite the file structure needed to save photos to the card. Where possible, always reformat the card inside the trail camera rather than using a digital camera for better results.
If that’s unsuccessful, it’s worth checking that you have the right card in your camera. High speed SD cards are designed for high-end point and shoot, and DSLR cameras, but not for trail cameras. Trail cameras don’t write as quickly to the SD card because of the trade-off with battery life. So, if you try to use one of these, there are likely to be some errors.
Blank Images
If your camera is taking photos of nothing, there are some common causes of this. Birds or animals which move very quickly, such as squirrels, can speedily pass the camera without being in view when the image is taken. Weather can also cause the motion detector to go off, such as a windy day that causes nearby branches or leaves to brush past the camera. Even distant vehicles can cause the camera to take photos.
With many cameras, the sensor angle is wider than the picture angle, which can mean that the sensor is tripped without actually showing anything in the image. If you’re worried the camera is taking pictures of nothing, put it in a dark cupboard for several hours to see if it stops – if it doesn’t, there’s an issue with the camera.


