How To Get Your Kid Riding
Learning to ride a bike is as important to your child’s development as learning to swim and teaching them to ride a bike as soon as they’re capable of doing so will be much easier than trying to push them to do it when they’re a little older. Like learning any new skill, it gets more complicated as you get over, so if you’ve got a kid who’s around riding age, it’s important to check out these 10 ways to get your kid riding in no time.
As your kid gets older, they’ll become more independent, and this means they’ll want to go out and play with their friends, which they might not be able to do without knowing how to ride a bike. Just think back to your childhood and remember all the good times and memories you had with your buddies; these would not be possible if you didn’t know how to ride.
It’s about more than just the social aspect though. Kids who can ride bikes are typically healthier as they have a different way to stay active without feeling like they’re exercising, and if they keep at it, you might just have a future Tour de France champion in your household. Now, let’s kick that stand up, get into gear.
1. Adjust The Height
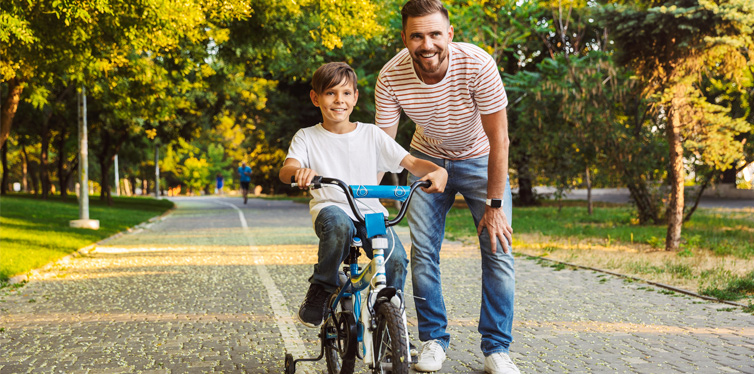
Let’s start with the simplest but often most overlooked aspect: the height of the seat. It’s not as easy as your kid just climbing on their bike and getting going, it needs to fit them correctly to ensure they are in control. Bikes for kids will accommodate this, as they aren’t the size regular adult-sized bikes, so it won’t be too challenging to find the suitable height for your kid to sit comfortably.
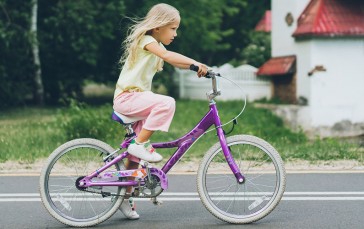
Much like your own bike, the seat height should be high enough for them to place on foot on the ground when sat down, but not too low that their feet can drag against the floor.
2. Training Wheels
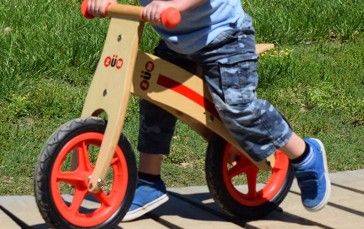
Training wheels are never cool, but when learning, it’s not about looking cool. Instead, it’s about getting down the basics. Training wheels and balance bikes help kids perfect the technique and prove to them it’s not scary to ride a bike. This will help them get used to the movement of the bike, how the pedal work, and how to grip the handlebars and use the brakes properly.
3. Back To The Start
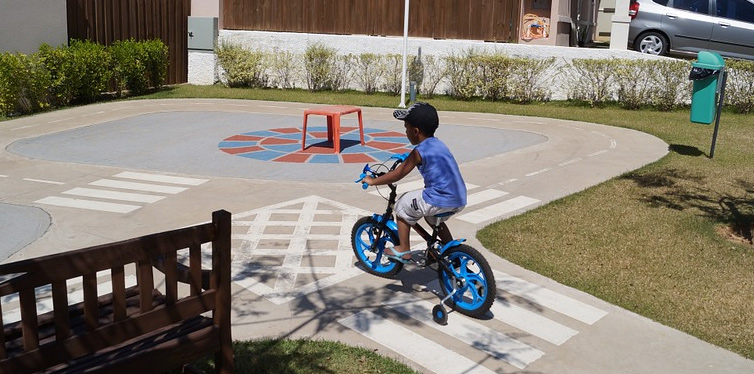
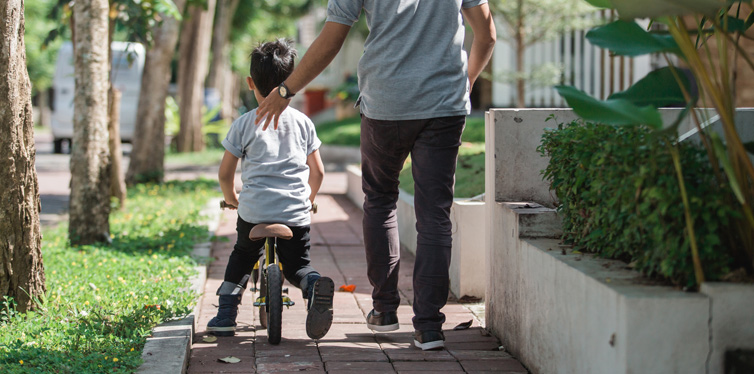
Once they’ve perfected the balance bike, it’s time to graduate to the real thing. This isn’t as simple as merely putting them on the bike and letting them ride, as they won’t be able to balance yet. Use this stage to get them used to the feel of the bike and how it differs from their balance bike or tricycle. You can remove the pedals so they don’t worry about moving the bike forward.
4. Soft And Safe
Without training wheels, the chances of toppling over vastly increase, and this can be scary for your kid, even with their helmet, elbow pads, and knee pads. To give them a boost of confidence, find somewhere that has softer ground than concrete (which won’t be hard) but also somewhere they can pick up enough speed to stay balanced.
5. Start Off Slow
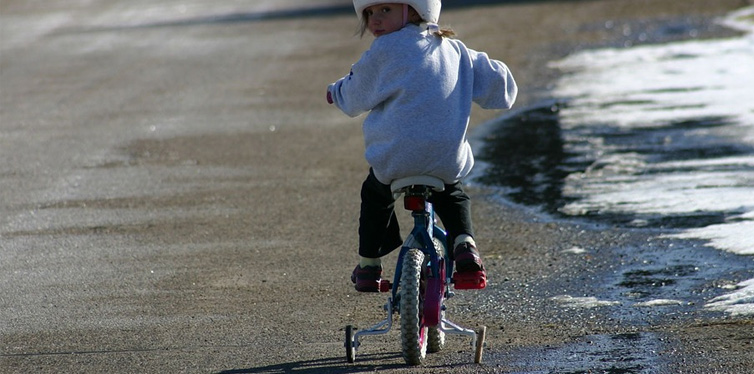
As with any new skill, easy does it at first. Don’t expect your kid to go zooming around the park straight away and remind them it’s okay to that they aren’t as fast as the other bikers. All they need to do right now is to feel safe on the bike. Also try to avoid slopes and hills, as we don’t want the kid picking up too much speed.
6. Balancing Act
On the flat ground, let them practice staying upright on the bike after pushing off. While they won’t have pedals to go too far, they will still have brakes in case they go too fast.
7. Pedal The Right Technique
Once they’ve mastered balancing without pedals, you can put the pedals back on. Hopefully, they’ll remember how to do this from their experiences with a balance bike, but if not, give them some time to relearn. You don’t have to put both pedals on at once if you find them struggling.
8. Hold On
When they get started, hold on to your kid’s stomach or under the armpit to help stabilize them. Be careful not to hold on to the bike, as this can affect their learning of how the bike moves and reacts to them and the ground.
9. Practice Perfection
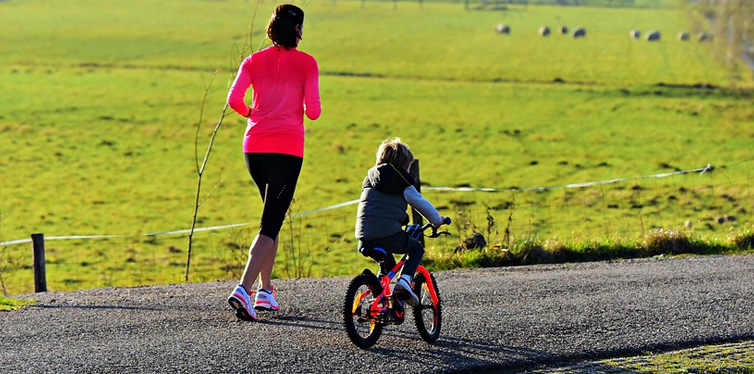
Repeat, repeat, and repeat, because practice makes perfect. You can keep hold of your child during this time, but you’ll need to let them go, eventually. While they may not be wholly convinced they can do it just yet, repeated riding around the same area with no accidents will boost their confidence and eventually, you’ll be able to let go, just don’t give them warning beforehand.
10. Zip, Zap, Zoom
Suddenly, after a few false starts and abrupt stops, your kid will just get it. When that happens, it’s cause for celebration, so sit back and relax, and let your kid zoom around like they’ve been doing this all their life. Make sure they’ve got a bell on the bike, though, because after all that work we don’t want any collisions.
What Age Is Best for Learning To Ride?
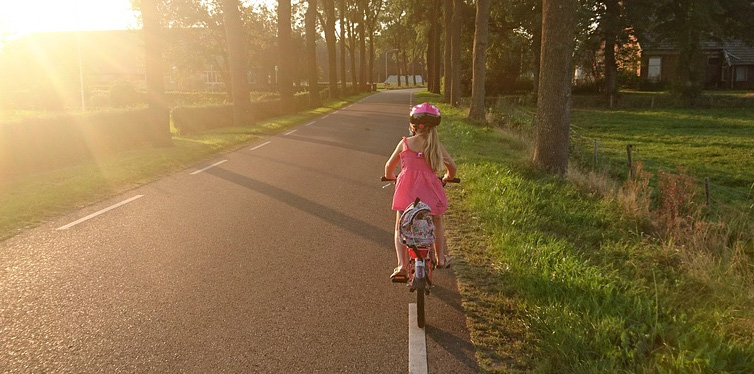
Kids can learn to ride a bike between the ages of 3 and 8, but this doesn’t mean you have to get them riding as soon as they turn 3 years old. Most children learn around the age of 5, which is where their fine motor skills and control are strong enough.
Tour De Force
There may be falls, there may be tears, and there might even be outright refusals about ever getting on a bike again, but when your kid eventually masters riding a bike, it’s something they’ll be enormously grateful for, and they’ll be glad for putting in the effort. And as they say, once you get it right, it’s something you’ll never forget.
Sources:
- Teach Your Child To Ride A Bike Without Stabilizers In Nine Steps – Sustrans
- Best Age And Method For Learning How To Ride A Bike – VeryWell Family


