Painting Tips
You’re happy with the colors you’ve selected and you’re geared and ready with all the equipment that a good paint job requires – but painting your walls has turned out to be a bigger hassle than you imagined. The paint’s dripping, you’re left with streaks and you’ve missed tons of spots. You’re wondering “how do the pros get it right”?
At this point, we can only advise you to take a deep breathe and take a step back. Before you want a wall that looks like it has been painted by a professional, you need to know the tricks of the trade. From purchasing the right tools and paint types to knowing where to start and applying the correct painting methods –painting is never as simple as it seems. Luckily for you, we’ve done some detective work to find out how the experts get it right each time. Before we share our tips, however, a good starting point is to make sure that you have all of the necessary tools on hand. The correct painting equipment should include:
- Primer
- A stirrer
- Paint brushes and rollers
- Roller tray
- Drop cloths
- Rags for wiping away the paint
- Blue tape
- A 60-Watt handheld bulb and pencil
- Cleaning equipment
Once you have your tools ready and have prepped your wall by cleaning it and filling cracks and holes, then it’s time to whip up the brushes and put these 7 pro painting tips into action:
1. Clear The Room Or Completely Cover Furniture
As impatient as we are to give a room a fresh new look, we need to start with the more tedious work first, which will only lessen the load in the long run – or save your valuables from being soiled with paint. Before even a lick of paint touches your walls, you need to remove all furniture and bric-à-brac from the room, or at the very least, cover the items well.
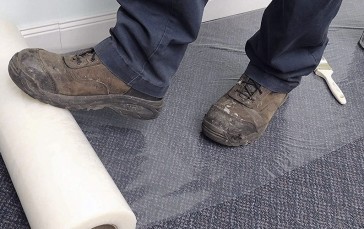
The experts recommend that you use one of two suggested materials to cover furniture with. You can wrap your belongings using large plastic sheets that have been taped in place or you can use canvas drop cloths, which most painters prefer because they tend to stay in place without having to be taped. Once you have your goods al wrapped and covered, then slide them on over to the center of the room so that you can access the walls easily and accurately.
2. Use A Light To Discover And Flaws
Our detective work into the world of professional painting led us to, well, some detective work! Sometimes the naked eye cannot always spot dents and cracks in surface areas, especially if the lighting conditions aren’t that great. If you fail to fill these dents, however, then they will eventually catch your notice and potentially annoy you with the uneven finish they have left.
So, to get the job done with no hole left uncovered, you’ll need to have access to a hand-held bulb (at least 60 watts) and a pencil. Hold the light of the bulb up to the surface areas so that it can expose even the smallest of scuffs, cracks, and blemishes. Use your pencil to circle the areas that need work and then fill, sand, or clean the marked areas before priming. This might seem like an extreme step but if it’s perfection you’re after then even the minutest imperfections need to be “brought to light”.
3. Never Skip The Priming Process
Priming is another dull process that adds to the work, but with good reason. Not only does it ensure that the paint “sticks” better, but it also prevents the actual paint from being absorbed by the joint compound used to fill holes and cracks during the prep phase. When the paint is absorbed by the joint compound, it tends to leave the paint looking faded over these areas, much like watermarks.
Also, if you want your color to really “pop” on the wall, then a primer is essential. In this regard, pros in the field recommend that you go with a tinted primer similar to the color of paint you have chosen, instead of just a plain white base. This is because tinted primers, like grey, work better at covering up the paint that’s already on the walls and as a result, your finished coat will look more vibrant and you will possibly get away with applying fewer layers. This is especially true when you are working with bold colors like red or orange, which sometimes require three or more coats for a solid look when a primer is not used.
4. Start With The Trim, Then The Ceilings, And Paint The Walls Last
Professional painters usually follow a certain order when working on a room. They start with removing or covering the furniture, then they clean walls, seal cracks and holes with a joint compound, and then sand rough patches down to a smooth finish. After adding a layer of primer, the next step is to paint trimmings and the ceiling.
The good news is that painting the trim first means you can apply your strokes without worrying about paint splattering onto the walls since you’ll be covering this up later. Once the trim has dried, you can tape it off and move on to the ceiling and then walls.
Experts in this trade work in this order mostly because it is easier to tape off the trim than to tape off the walls. To avoid sticky residue, we suggest you use blue tape instead of masking tape. Blue tape is slightly more expensive but is less likely to tear and leave marks behind. To make sure that your paint doesn’t bleed through your tape, you can run a putty knife over it once it’s in position. This pressure will remove air bubbles and will secure the tape to prevent all kinds of bleeds.
5. Try To Avoid Lap Marks
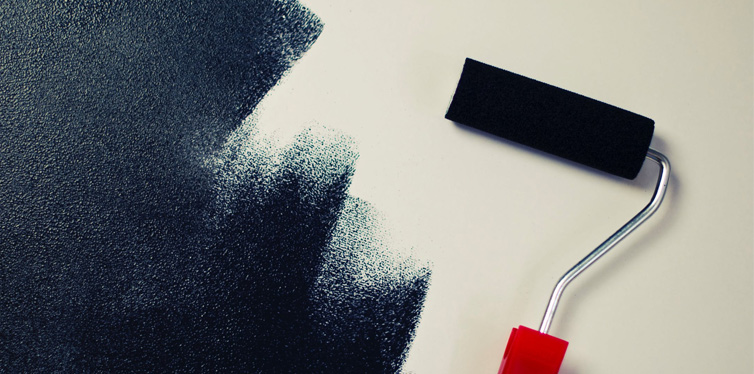
Lap marks are the horrid stripes that appear on a freshly painted wall and are caused by uneven layers of paint build-up. To avoid these unsightly lines that play havoc on your surface area, you need to maintain what the pros call a ‘wet edge’. This means that each stroke of your roller needs to overlap the edges of previous strokes before they begin to dry.
To keep a wet edge constant, the trick is to start at one end of a wall and them maneuver the roller from top to bottom or bottom to top on one swift straight line, all while moving closer and closer to the other end of the wall. If you need to, roll the brush over recent strokes again to even out any thick spots or runs. A very important part of avoiding lap marks is to make sure the roller is wet and slick with paint at all times and to paint with the outer side of the roller facing towards the previous strokes – this practice is less likely to leave streaks.
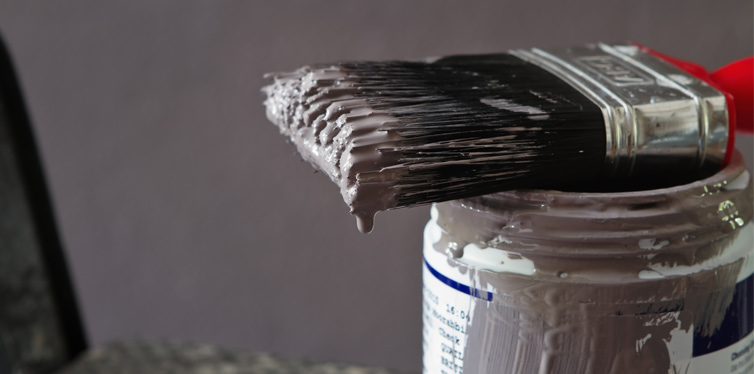
6. Use Paint Extender To Avoid Brush And Lap Marks
Another way to avoid streaky walls is to mix paint extender in with your normal paint. Paint extender helps to stretch your paint further and at the same time, it also slows down the rate at which paint dries, which gives you more time to roll over edges before they form lap marks. Another awesome thing about this product is that it helps to level out brush strokes, which again reduces the risk if visible streaks being left behind.
Paint extender can be bought at most paint supply and hardware stores and while it might add to the cost of the job, it will give you that professional finish that you’re looking for!
7. Protecting Windows From Paint
In an effort to finish a paint job, we often forget to cover windows. Splatters on the glass can make a room look shoddy, even if the walls themselves look great. To protect your windows, you can layer plastic over them and seal the edges with tape – which might be tricky if you need to paint the trim around the panes too. Alternatively, let paint splatter on to the glass and once you have finished working on the ceiling and walls, you can use a razor blade to scrape the dried flecks of paint off of the windows.
With your new walls in pristine condition and windows as shiny as ever, you can now unwrap or move your furniture back into position – after cleaning up, of course.
Yup, even the pros have to clean up properly once they’ve finished off a thorough job. This means washing paint brushes, rollers, trays, and buckets. It means giving the room you have painted one last dust and clean and it means sealing leftover paint properly so that is can be whipped out for when touch-ups are required.
Ready to paint like a pro?
Sources:
- Painting Secrets the Pros Won’t Tell You – Go Paint Sprayer
- Best kept secrets of professional painters – Family Handyman


