Packing the Cooler
Getting ready for a picnic or a camping trip? You’ll want to take your trusty cooler along to keep your drinks cool and story any perishable food items. You’ve probably used it on countless trips away before. The question is though, do you really know how to pack your cooler like a pro?
Check out our 5 tips to help you prepare for your tip by properly packing your cooler like an expert:
Organize Everything You Need Before You Start Packing
Try and plan your menu before you go so you have an idea of the ingredients you’ll need through the course of the trip. For any food items you’re taking along in your cooler, pack them up into trusty leak proof containers and resealable bags before you put them in.
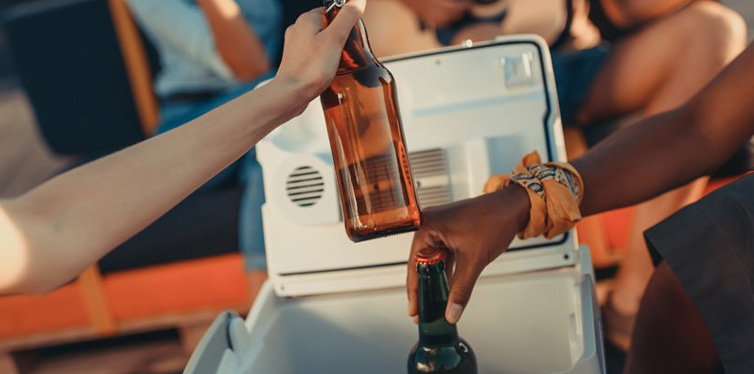
Try and organize your cooler (or backpack cooler) into different sections so you can get to what you need more quickly. This way you won’t have to leave the cooler open for too long. We’d recommend taking a separate drink cooler so that you don’t have to keep opening the cooler with perishable food items in it.

Chill Your Cooler The Night Before Your Trip
If your cooler is already cold before you start packing, it’ll work better at keeping your food and drink items cool the trip. For those of you with access to a big freezer, stick the cooler in it overnight before packing it in the morning. If you don’t have access to a freezer, just leave the cooler in your yard or porch the night before you’re due to head off. You could also leave a bag of ice in there overnight to cool it off from the inside. (Make sure you discard that ice bag before you start to pack).
Freeze The Food And Drinks You’re Planning To Take
If you take along items that are already cold, they’re likely to stay colder for longer. If they’re frozen, even better. It’s easy enough to thaw them once you get there. If you pack warm items into your soft sided cooler, they may just warm up the air inside and lead to the ice melting faster. Trust us, pre-chilling and pre-freezing items before popping them into the cooler is the way forward.
Don’t Use Ice Cubes, Use Ice Blocks
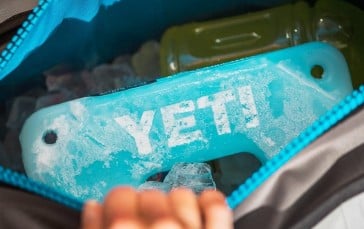
Ice blocks don’t melt as quickly as ice cubes do, so consider freezing some water in plastic boxes and taking it along instead of individual cubes. Sure, it can be a little extra work hammering an ice block to pieces once you get there, but if you want guaranteed cold drinks on your trip an ice block is a safer bet. The bigger the block, the more slowly it’ll melt.

Pack In Layers
When you start the packing process, begin by placing the ice blocks right at the bottom. Place a layer on top such as a cardboard sheet to prevent the ice making the rest of the items soggy. Then start to pack the items in starting with the ones you need coldest (such as any raw meat). As you add in more layers of food and drink items, keep alternating with layers of ice.
Those items that don’t require too much refrigeration should be kept at the top, as these are the ones most at risk of being exposed to wafts of hot air every time the cooler is opened. We’d recommend keeping the drinks on top if you don’t have a separate drinks cooler. Drinks won’t perish and are usually what you will be reaching into your cooler for so you need easy access. For some creative ideas on the top brands on the market, make sure you read our helpful review of the best coolers today.
Sources
- How to Properly Pack a Cooler, Outside Online
.


