Home Car Wash
Why is it that, even though it uses brushes the size of a truck and shoves your car around mercilessly that an in-and-out car wash still manages to make your car look better than when you wash it by hand? That’s because, as brutish and inelegant as they may be, those bump and grind car washes nonetheless follow well-established principles regarding the right way to approach the washing of a vehicle. And while they do a pretty poor job of handling the details the results are still often better than what can be achieved by abandoning those principles and winging it in the driveway. Below we’re going to take a step by step look at how to wash your car in a way that will make it appear showroom ready.
Step 1: Evaluation – No good can come from your efforts unless you know exactly what you’re dealing with. That means evaluating the state of your vehicle in order to formulate a plan of action. In the military this step is called this reconnaissance, in the legal profession it’s called due diligence and in mountain climbing, it’s called reconnoitering. The point is to go on a bit of a fact-finding mission before you touch the car in order to determine what tools and processes you’ll need to employ to return it to a pristine state. If the car is fairly new and you’ve been hitting the car wash pretty regularly you may only need to wash and wax it. But if it’s been a while since the car has received any TLC you may need to employ a more involved approach.
Step 2: Gather your materials – Once you’ve determined just how involved the process is going to have to be it’s time to gather your materials. Start with a lambswool or microfiber wash mitt. The wash mitt will do a good job of holding lots of soapy water and will also trap and remove dirt particles that would just be pushed around by a rag. Next are the buckets. You’ll need two of them. The first for the soapy water you’ll use to clean the car and the other to rinse off your mitt. Rinsing the mitt regularly will prevent old dirt from returning to the car in the soapy water. Next, you’ll need a top-shelf car wash soap. Go to the auto parts store and ask the folks there. They’ll know which ones are the best. Your evaluation of the car may have turned up road tar and bug carcasses that have seemingly become part of the paint job. If so make sure you pick up a good road tar and bug remover. This will eliminate tar, asphalt, tree sap, dead bugs and other detritus that’s glommed onto your car over time. Also, make sure to pick up a real auto window cleaner. Beyond that, you’ll need soft clean cloths, a chamois, a buffer, buffer pads, a lambswool pad for waxing, polishing compound and a high-quality car wax.
Step 3: Read all the labels – Even if a product comes highly recommended by the pros make sure you read the label before you apply it to your car. This applies to any soap, wax, debugger or car detailing product you may be considering. Before you put it in your basket to take to the checkout counter make sure it’s what you think it is. If you have aluminum wheels make sure you don’t buy a cleaner intended for chrome wheels. It might etch the aluminum. Also, some cleaners are made for metal and some for plastic. You should have both for your car. Just make sure you know which is which and use the right one on the right material.
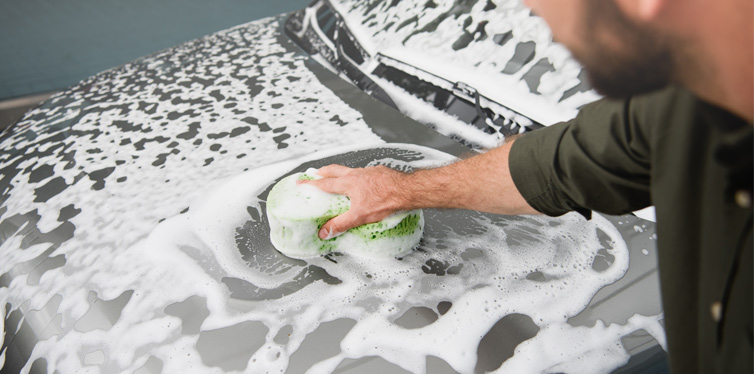
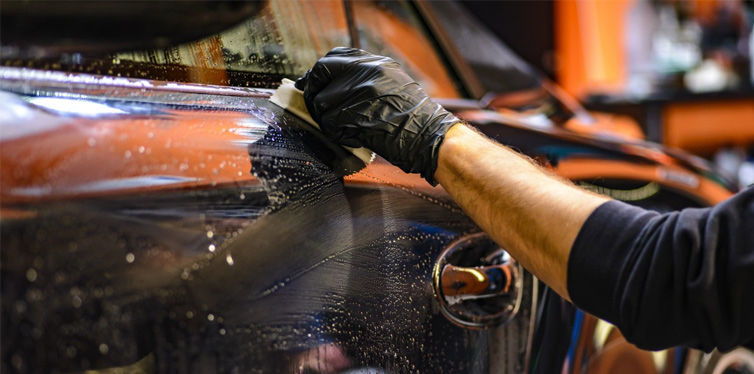
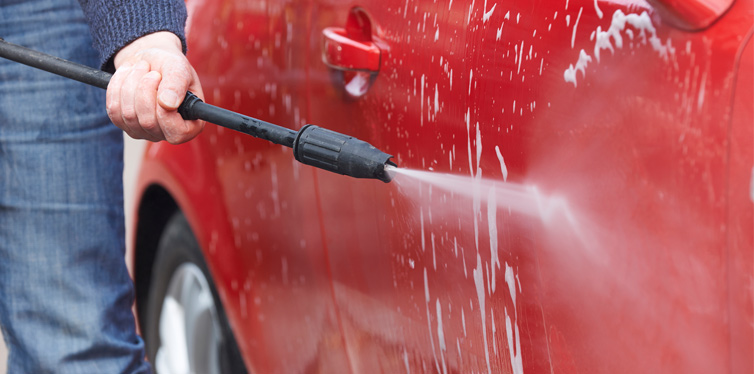
Step 4: Wash the car – Washing the car is often thought of as an end unto itself. But it’s more than that. It’s also how you prepare the car to be polished. If the wash is incomplete or performed in a haphazard way the polish will not be able to do its job properly and in fact you may wind up simply grinding old dirt further into the surface. So always keep the next step in mind as you go about washing the car. Rinse the car first. You may want to use a pressure washer if one is available. Rinsing removes large pieces of debris as well as a majority of dust that you would otherwise be pushing around with the mitt. Once the car is thoroughly rinsed start washing at the highest point and working your way down. You should have one bucket filled with soapy water and the other filled with clean water. Each time you return the mitt for more soapy water make sure you rinse it thoroughly in the clean water first before dunking it back into the soapy water. Once you have washed the car thoroughly from top to bottom rinse it just as thoroughly, making sure not to miss anything. After you finish the rinse either let the car air dry or set up a couple of fans to help facilitate the drying process.
Step 5: Debug and detar – Once the car has been properly washed and is thoroughly dry it’s time to determine where you’ll need to apply your detarring/debugging agent (if indeed you have to). If little lumps of tar and bug carcasses are not obvious lightly run your hand over any questionable areas. If you feel any bumps you’ll need to apply your debugger in those areas. In most cases, the best thing to do is to spray the de-tarring agent directly onto a soft clean cloth and then wipe the cloth over the area where the tar is or the bug splatters are. These products typically do a bang up job and will really help you achieve a much higher level of overall clean. It’s the kind of thing a drive-through car wash just doesn’t do. Make sure you check the underside of fenders and bumpers and the lip of the wheel well, as these areas are typically magnets for road tar.
Step 6: Wash the windows – If you’re serious about ensuring the long-term health and well-being of your vehicle you’ll stay clear of commercial window cleaners that contain ammonia. That’s because ammonia can actually damage the tint on your windows (and we assume most cars today have some form of tint on their windows). While you were at the auto parts store earlier picking up materials you also picked up a proper car window cleaner as we suggested, right? Good, so put away the Windex and use the auto window cleaner. Make sure you wipe the windows thoroughly to ensure any excess window cleaner is removed. If you get window cleaner on any painted surfaces remember to wipe it off quickly and completely.
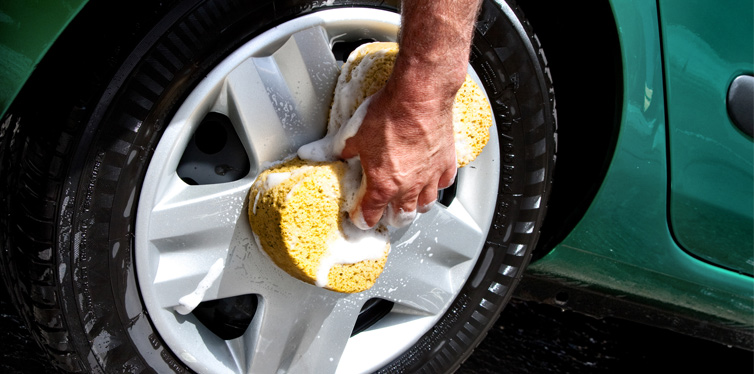
Step 7: Wash the wheels – We pointed out earlier that all wheel cleaners are not appropriate for all wheels so hopefully, you picked up one that is a good match for your wheels, whether they are chrome or aluminum. Make sure you get into all the nooks and crannies of the wheel because once the rest of the car is cleaned and polished properly even the smallest oversights on the wheels are going to stick out like a sore thumb. So put on some music and take your time. It’s not a race. The point is to do it right and that means sweating the details.
Step 8: Prepare your car for polishing – The next step lays the foundation for the polish. A great polishing job can really turn heads as well as go a long way toward protecting your car from environmental hazards so setting the car up to be polished the right way is crucial. If you are serious about wanting your car to really pop at the end of the process you’ll make sure the car is completely clean before undertaking this step. Go over the whole thing one more time to make sure you didn’t miss any hidden swirls of dirt or tar splatters and that there is nothing on the vehicle that will compromise the polish or the polishing process. The windows and wheels should be finished by now as well. Prepping the car for polishing includes taping off areas that could get caught by the buffer like emblems, door handles and sharp trim. Once you’re sure the car is free of all contaminants and all potentially problematic areas have been taped off you can proceed with the actual polishing.
Step 9: Apply the car polish – Polishing your vehicle with a rotating wheel is an oft-misunderstood process that is not an end unto itself but rather one step on the road to a showroom finish. When you apply the polishing compound to the car and buff the surface in this way the rotating pad works with the compound to heat up the surface of the clear coat, causing it to liquify just a bit and fill in any scratches or other blemishes. If your car is a dark color just make sure to use softer compounds and pads to prevent swirl marks. If everything is ready to go proceed as follows:
- Dampen the pad and place it on the polishing wheel on the buffer. Then put a moderate amount of compound on one of the panels. As with washing you’ll want to start at the top and work your way down. Set the buffer speed to medium and apply the pad parallel to the surface.
- Make sure you apply constant pressure and work your way back and forth across the surface, not stopping in one place for any length of time. You’ll notice that as the clear coat begins to heat up after several passes that scratches begin to disappear.
- Once you are satisfied with the results move on to the next area and repeat the process. After each panel is polished remove the buffing pad and rinse it off. This will remove any excess compound and prevent the pad from getting gunked up and becoming useless.
- Keep in mind that because the outer edge of the pad moves faster it creates more friction. If you hold the pad at an angle to the surface then this rapidly rotating outer edge may burn the surface in a way that will require a labor-intensive effort to repair.
- When the car has been completely polished rinse the car off again and let it dry thoroughly.
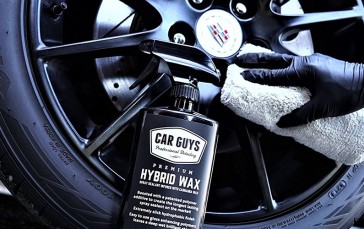
- Apply a coat of the best car wax you could find to mask any swirls left over from the polishing, cover any remaining imperfections and put the final touches on your car’s finish. You can apply the wax finish by hand if you want but an easier, faster, better way is to attach a soft foam pad to the buffer and use that instead of elbow grease.
- Apply a bit of wax to one panel and then work it in using the buffer with the foam pad. Keep the speed setting at medium once again. Once the wax is thoroughly worked into the surface switch to a lambswool pad and finish the job.
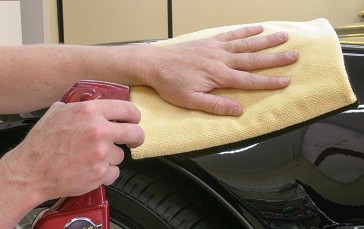
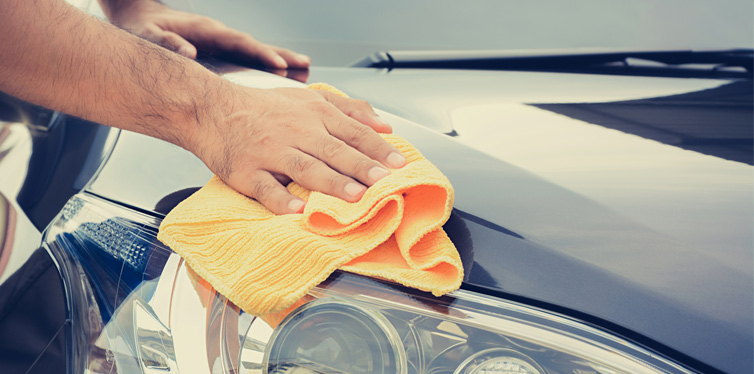
- Once the wax job is complete buff the entire car by hand using a microfiber towel. The point is just to remove any excess wax that may be on the surface and to smooth over any less than perfect areas that may exist between the waxed sections.
Step 10: Post car cleaning maintenance – It won’t take a lot of work to keep your car looking great but it will take some. Always keep a clean microfiber cloth and a spray bottle filled with mineral water in the car in case you need them to remove bird droppings or other debris. This is also handy scuffs that may appear after removing car bike racks after a day out on the trails. Store the car under cover whenever possible and if you don’t have a garage consider buying a removable cover. Always avoid parking under trees as the sap can be a real finish killer. And don’t let bird droppings fester.


