How To Design Clothes
It may be that you’re into the thrift scene and want to be more eco-conscious with your wardrobe or it could be that the clothes in the department stores just don’t cut it for you, style wise. Or perhaps you just fancy a new creative hobby. Whatever the reason for wanting to be the next Georgio Armani, it is easier than you think to design your own clothes.
You will need some basic skills and a little creative flair, but even if you never wear your fashion-forward creations outside your bedroom, we say that if you fancy being your own fashion stylist, give it a go. We take a look at all the essentials you need to know in our skillfully stitched-together guide to how to design clothes for beginners.

1. Learn The Basic Skills
You don’t have to be a drawing or sewing master to design your own clothes but developing a basic skill level is a good place to start. To sketch out your own designs, you need to be able to do a decent interpretation of your ‘creative vision’ on paper so if your drawing skills are not quite up to scratch, then we suggest you enroll on a drawing class. Knowing how to effectively draw the human form and to translate your fashion ideas onto paper will help you no end.
The same applies to sewing. Learn the principles of sewing, whether that is by hand or with a sewing machine and practice the basic stitches and finishes. And if you can, join a sewing class so you can understand the essentials of pattern making and how an outfit can be pieced together.
2. Get Your Starter Tools
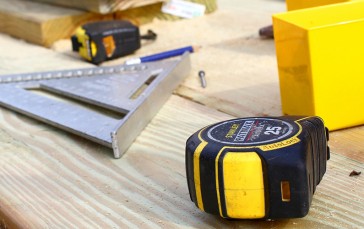
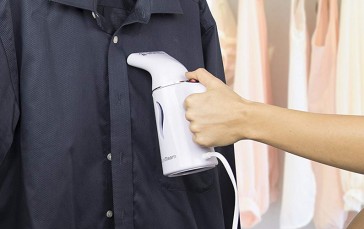
To get started in designing your own clothes, you don’t have to spend a lot, but you do need some basics. Pencils and sketch pads are just the start, you will also need fabric scissors, tape measure, chalk wheels to mark out your designs, tracing paper, pins, thread, needles, steam iron and an ironing board. A tailor’s dummy is a good buy too, as is a quality sewing machine. For fabrics, you don’t have to spend a fortune to get up and running, try markets and end of line fabric stores or recycle fabric from your own cupboard and charity shops. Cheaper fabrics are the best way to learn to design clothes as you will initially make mistakes and you don’t want to be wasting meters of the finest silk, cashmere or tweed.

3. Start With Simple Projects
Going straight into a complicated three-piece suit design is not going to end well, so start with a few simple projects first to get you into the fashion-designing groove.
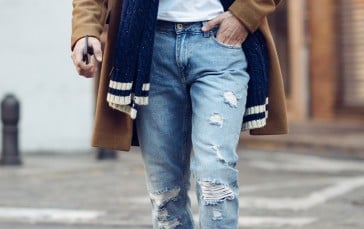
This could include re-purposing old or pre-bought clothes such as trousers or T-shirts. A plain old T can be easily personalized so that it is fashion-forward. A heat press machine is a great way to transfer an original sketch or design onto the front of a T-shirt and you can now buy machines for home use. Or style up an old pair of jeans or denim jacket with a unique pattern using an embroidery machine. When it comes to making a full garment, then for the beginner simple boxer shorts, Kaftan-style tops, tunics, skirts and box-shape tops are the easiest to start with as you get to grips with the sewing basics. Use shop-bought patterns so you get a feel for and understanding of how a garment is a sum of its parts and the way they all fit together.
4. Create Your Design
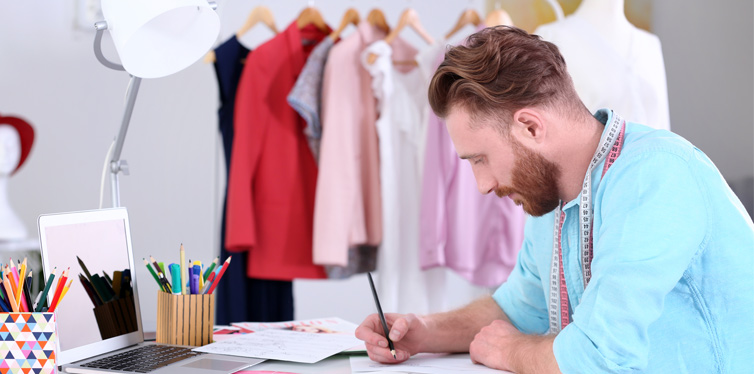
So now you are ready to create your own design. Start by sketching out your design, beginning with the basic shape of the garment, and then gradually add in the detail. Think about the colors, sleeve length and the fastenings as well as the extra details such as pockets, collar shape, where the garment needs to be more fitted and where it is loose. If you have spent time in a sewing class or have watched plenty of sewing tutorials online, you will start to have an idea as to which fabric is best for your design and how you can translate it into the various pattern templates needed to bring the finished garment all together. You could also look at signing up for a fashion design course to get more practical knowledge and experience in pattern design and cutting.
5. Test It Out
Now, knowing your measurements, start tracing out the elements of your design onto butcher paper to create your design’s individual pattern pieces, allowing for all the necessary seams. Always use cheap fabric or muslin first so you can test out the pattern without wasting your proper material. Pin your test garment together and sew into place before popping onto your tailor’s dummy to check it out. Using pins and your chalk, adapt and adjust the fit and cut to how you want it to be, and then translate these amendments to your paper pattern.
6. Move On To The Real Thing
With your adjusted pattern pieces, you can now get to work on your real fabric, having bought more material than you need to allow for those inevitable tweaks and mistakes. Repeat the test process by pinning out the pattern on your fabric and cutting out your pieces then pinning together.
Take your time with your sewing (use the functions on your sewing machine to guide you and make things easier) and keep checking sections against the dummy to ensure they fit and hang as they should. Make adjustments as needed until your new design is complete. As a beginner clothes designer there will inevitably be some trial and error – as well as some downright disasters – but the key is to enjoy the process, learn, be creative and have fun. And who knows, you just may well have a few new pieces of wearable – and original – designer fashion items in your wardrobe. Under your own label, of course.
Sources:
- Make Clothes You Design Yourself – The Artful Crafter
- Design Your Own Clothes – WikiHow


